Field-to-Freezer: The Playbook for Backcountry Meat Care (Elk Season Edition)
Executive Summary:
When the shot breaks clean, the real work begins. In backcountry elk country, superior meat care isn’t a “nice to have”—it’s the Key Performance Indicator that defines success. This turnkey playbook operationalizes field-to-freezer excellence with repeatable steps, risk mitigation, and the right gear stack—so your harvest arrives home in premium condition.
Why Meat Care Is a Mission-Critical KPI
Warm temps, altitude, and pack-out distance put your elk at risk of bone souring, contamination, or avoidable waste. Hunters who systematize cooling, cleanliness, and airflow consistently deliver better end results. This article codifies that system—optimized around Caribou Gear’s purpose-built ecosystem.
Primary keywords: elk hunting meat care, quartering elk, backcountry game bags, how to cool elk meat, field care elk.
Secondary keywords: elk quartering steps, bone sour prevention, pack out elk, game bag airflow.
The Gear Stack
-
Caribou Gear “The Carnivore” Game Bags (Elk-Sized) – Ultralight, breathable, blood-resistant, designed for airflow and protection from debris and insects. Deploy as your primary containment for quarters and boned-out trim.
👉 Product: The Carnivore – Boned Out Game Bags -
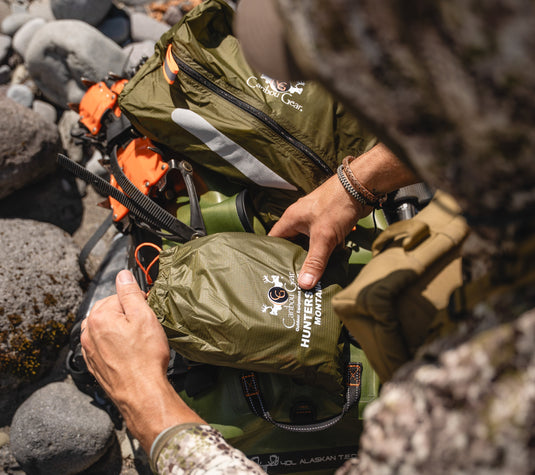
Caribou Gear Hunter’s Tarp — Colorado (5′×4′) – A clean, water-shedding, highly visible work surface that prevents contamination during breakdown and keeps parts organized.
👉 Product: Hunter’s Tarp / Meat Pack Liner – Colorado -
Caribou Gear Hunter’s Tarp — Montana (7′×8′) – Larger footprint for inclement weather, gear coverage, or processing on wet ground or snow.
👉 Product: Hunter’s Tarp – Montana 7′×8′ -
Caribou Gear WXRifle Shield™ (Rifle Cover) – Protects your rifle’s critical interfaces (action, optic) while you process and pack—because reliability under adverse conditions is non-negotiable.
👉 Product: WXRifle Shield™ – Rifle Cover -
Koyukon® Waterproof Duffel – Ruggedized transport layer for the truck or bush plane phase—built to handle extreme conditions.
👉 70L Product: Waterproof Duffel – 70L
👉 3-Pack (40L/70L/90L): Extreme Duffel – 3 Pack
Bonus collection links for cross-navigation:
Game Bags Collection | Rifle Covers Collection | Koyukon Dry/Duffel Bags
The Standard Operating Procedure: 10 Steps from Impact to Exit
- Clock Starts at Impact – Note ambient temperature and sun exposure. Move the animal into shade immediately to start the cooling curve.
- Site Prep & Contamination Control – Deploy the Hunter’s Tarp (Colorado) or Hunter’s Tarp (Montana) as a sterile workspace. Gloves on, knives sharp, paracord staged.
- Primary Venting & Skin Removal – Open the hide along back and legs to accelerate evaporative cooling. Keep meat clean on the tarp.
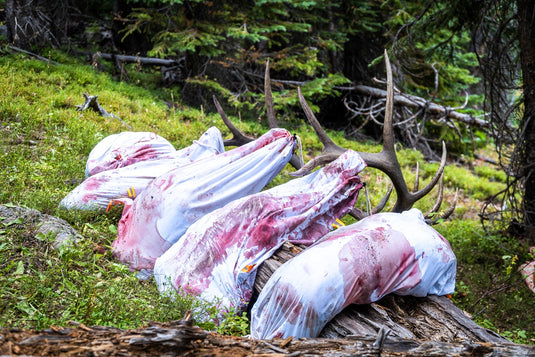
- Front-Load Airflow – Get the first quarter into a Carnivore Game Bag and hang it. Airflow is the lever.
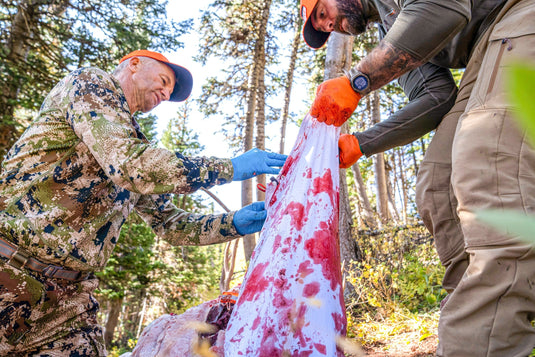
- Quartering with Intent – Detach shoulders, then hams at the ball joint. Stage each piece in its own bag to avoid contamination and heat soak.
- Spine & Trim Optimization – Pull backstraps, tenderloins, neck, and rib trim. Bag trim separately to streamline pack math and cooling surface area.
- Elevate, Space, and Shade – Hang or rack quarters with separation. Build shade if canopy is thin.
- Cooling SLAs – Target sub-40°F core temp as fast as conditions allow. Use nocturnal temperature drops and natural drafts.
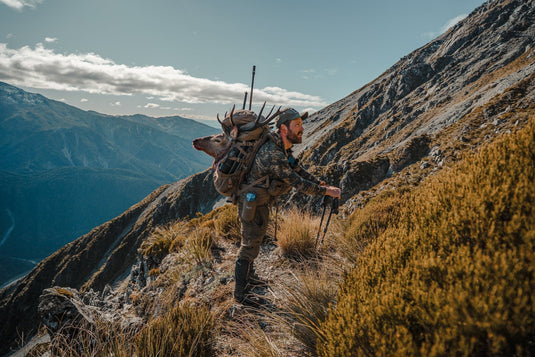
- Load Plan & Route Strategy – Right-size loads. Heaviest loads first while you’re freshest; leverage trekking poles and efficient egress lines.
- Transport Hygiene & Hand-Off – Keep Carnivore Bags on the meat inside the pack. Transition to cooler at the truck.
Risk Management: Avoid the Top 5 Failure Modes
- Heat Retention – Skin early, hang fast, maximize shade and airflow.
- Meat-to-Meat Contact – Space it out; never pile.
- Dirty Work Surfaces – Mitigate with the Hunter’s Tarp.
- Insect Pressure – Use breathable Carnivore Game Bags early.
- Overloaded First Trip – Right-size loads and plan for multiple rotations.
Pro Tips to Drive “Field-to-Freezer” Quality
- Bone-Out vs. Bone-In: Bone-out accelerates cooling and reduces pack weight; bone-in offers structure for hanging. Choose based on distance and temps.
- Night-Shift Advantage: Leverage evening temperature drops to win the cooling race.
- Micro-Elevation: Lay bagged quarters on downed logs or rocks to create a draft underneath.
- Data-Driven Decisions: A compact meat thermometer validates cooling milestones.
- Contingency Shade: Space blanket or tarp rigging if timber is sparse.
Packing Architecture (Checklist)
On-Body
- Knife set + sharpener
- Nitrile gloves
- Paracord + mini pulley
- Trekking poles
- Headlamp + spare batteries
- Flagging tape
Meat Care Kit
- Carnivore Game Bags (elk kit)
- Hunter’s Tarp (Colorado) or Hunter’s Tarp (Montana)
- Lightweight carabiners + accessory cord
Transport Layer
- Cooler strategy (frozen jugs, block ice) with airflow gap
FAQ: Operational Clarifications
Q: When do I bag the quarters?
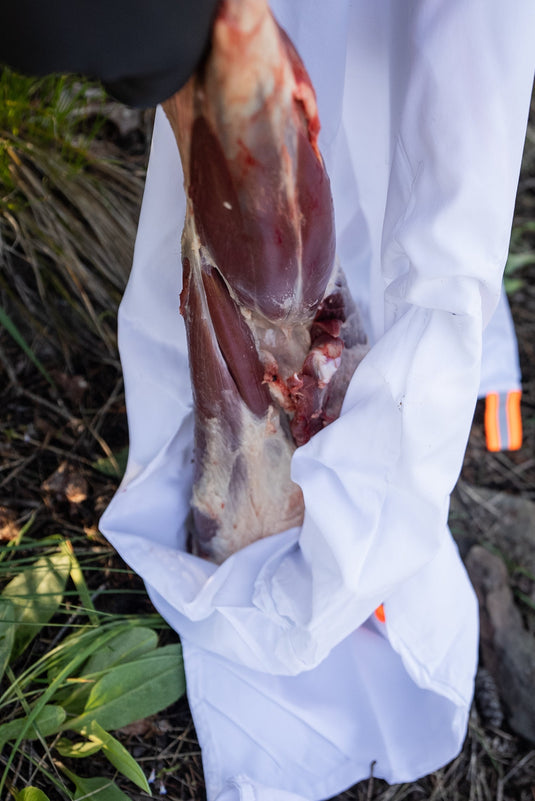
A: Immediately after removal and wipe-down. The Carnivore Game Bags deliver airflow and protection; they’re not just for the hike out—they’re part of the cooling system.
Q: Can I rinse meat?
A: Only if necessary to remove heavy debris, and then dry immediately. Water trapped on the surface slows cooling and invites bacteria.
Q: What if there’s no place to hang?
A: Build a tripod with deadfall or elevate on logs/rocks. Maintain spacing; the airflow delta is what matters.
Call to Action: Operationalize Your Next Pack-Out
Upgrade your meat-care SOP before the season apex. Start with the Carnivore Game Bags and dial your workspace with the Hunter’s Tarp (Colorado) or Hunter’s Tarp (Montana). Protect your rifle with the WXRifle Shield™, and close the loop with a Koyukon Waterproof Duffel.
